Cloud
![]()
The Cloud service is based on the XCP-ng virtualization platform, that allows you to create your own infrastructure as a service (IaaS).
With this platform you can create your own datacenter, by managing your resources (VMs, Network Topology) as you wish.
NOTE
Nested Virtualization (e.g., using VirtualBox/VMWare/etc inside a VM) is not supported. Containers (e.g., Docker) work in Linux as intended, but are unstable in Windows.
All resources provided by this platform are not protected by any backup policy.
Manage VMs:
- Control a resource pool
- Instantiate multiple virtual machines
- Power control (shutdown/startup/reboot)
- Create snapshots
- Manage your volumes
- Fixed Public IPs: assignable to a VM
- Networking: create private networks with routers to simulate realistic scenarios
- Shared projects: share virtual datacenters with colleagues to collaborate
How to access DEI Cloud?
The platform is available at cloud.dei.uc.pt. Login with your DEI account. Request access by sending an email to helpdesk@dei.uc.pt including:
If you are a DEI student:
- Course: for which you need the platform
- Objective: what you intend to achieve
- Associated Professor: responsible for the course
- Period: usage period (max 6 months, renewable)
If you are a CISUC researcher:
- Associated Project: project using the infrastructure
- Associated Professor/Researcher: project responsible
- Objective: intended purpose
- Period: usage period (max 6 months, renewable)
Cloud Quotas
You’ll receive a project with predefined quotas:
| Quota Parameters | Students | Professors/Researchers |
|---|---|---|
| VCPUs | 4 | 8 |
| Storage | 100 GB | 150 GB |
| RAM | 4 GB | 8 GB |
Tutorial - How to create a virtual machine
Ensure you can access the cloud platform using your DEI account.
1. Open the Cloud dashboard and click + new on the left menu.

2. Select your project, e.g., "Projeto-Helpdesk". In the INFOS section, choose a VM template like "DEI Ubuntu Server 20.04".

Default PASSWORD: cloud2.dei.uc.pt
Available templates:
| Template | Credentials | Access |
|---|---|---|
| DEI CentOS 7/8 | admin :: cloud2.dei.uc.pt | SSH |
| DEI Ubuntu 18.04/20.04 (Desktop/Server) | admin :: cloud2.dei.uc.pt | SSH |
| Windows Server 2019 / Windows 10 v2004 | admin :: cloud2.dei.uc.pt | RDP |
3. In PERFORMANCES, select vCPUs and RAM:
- Linux: ≥ 2 vCPUs, 2 GB RAM
- Windows: ≥ 4 vCPUs, 4 GB RAM

4. In INTERFACES, add a network card:
- net-SERVERS-STUDENT – for student projects
- net-CISUC – for CISUC projects

5. In DISKS, choose a Storage Repository (SR):
- iSCSI-DEI-NLSAS – mechanical HDD
- iSCSI-DEI-NetAPP-SSD – SSD
Define a unique name for each volume. Example: VM-name - disk 1

Then click Start to provision your VM. Go to “Home” > “VMs” to manage it.
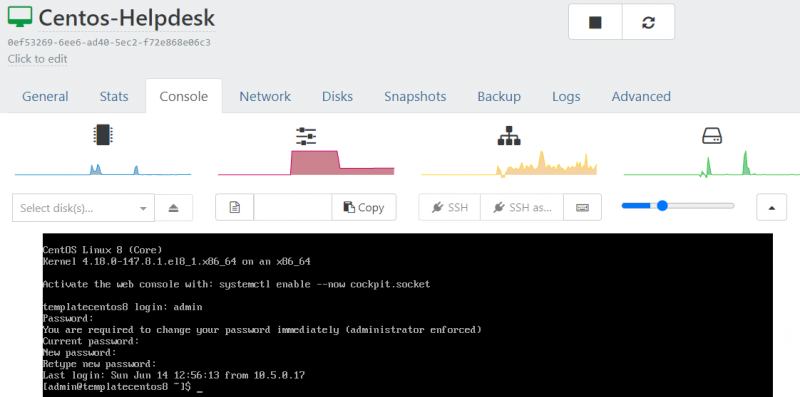
Click on the VM, then on Console to access the screen. Default user: admin, password: cloud2.dei.uc.pt.
How to get a fixed IP and internal domain (*.dei.uc.pt)?
Register a DNS name via: this form.
Note: Works only in DEI internal network or via DEI VPN.
How to get a public IP and domain (*.dei.uc.pt)?
Send an email to helpdesk@dei.uc.pt with:
- Project and VM name
- Desired DNS name (e.g., mywebsite.dei.uc.pt)
A second NIC will be added on the "DMZ_CISUC" network. Open ports: 80, 443, 8080, 9000–9010.
Access to SSH/RDP is allowed via DEI internal network or VPN.
Edit
/etc/iptables/rules.v4to add port rules if needed.
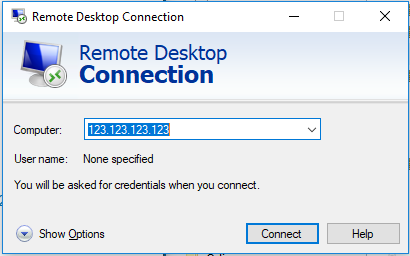
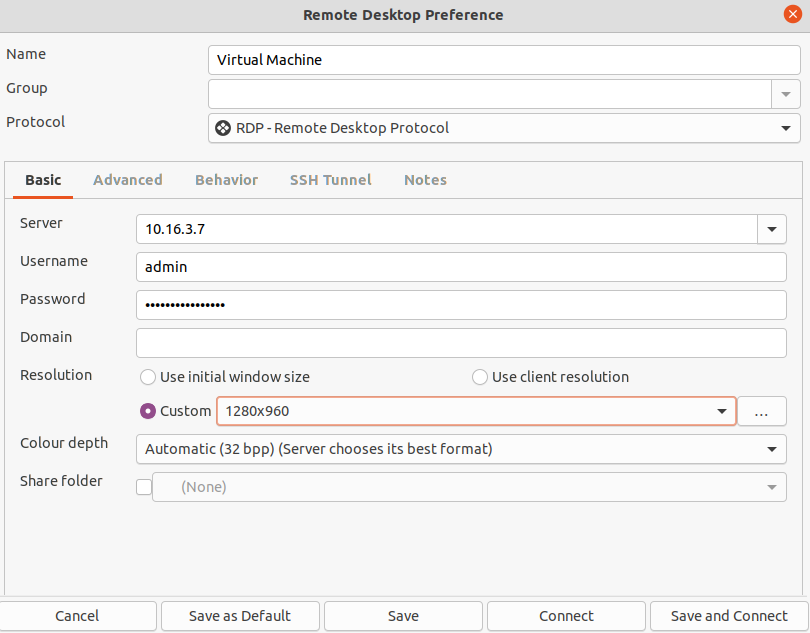
How to connect via RDP?
On Windows: Use Remote Desktop Connection. On Linux: use Remmina.
Username: admin | Password: cloud2.dei.uc.pt
How to connect via SSH?
ssh <ip> -l admin
ssh admin@<ip>