Configuring GIT Repository
"In software development, Git is a distributed revision control and source code management (SCM) system with an emphasis on speed. Git was initially designed and developed by Linus Torvalds for Linux kernel development in 2005. Every Git working directory is a full-fledged repository with complete history and full version tracking capabilities, not dependent on network access or a central server." — Wikipedia
Creating GIT Repository
-
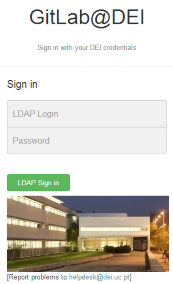
Login to the GIT Server at
https://git.dei.uc.pt using your DEI credentials.
- In the dashboard, click "New Project".
- Enter the project name and set its visibility (private by default), then click "Create Project".
-
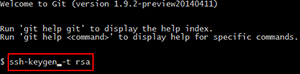
Set up SSH keys from your client.
Use Git Bash (Windows) or Terminal (Linux):
ssh-keygen -t rsa -b 4096 -
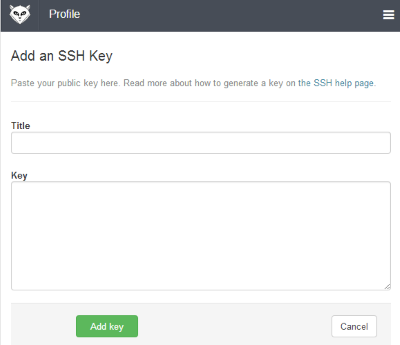
Add your SSH key to your profile at
Profile Settings → SSH Keys.
- Click the green button Add SSH Key.

-
Insert the Title and paste your public SSH key.
- The default location is
$HOME/.ssh/id_rsa.pub
- The default location is
Install and Configure GIT Client on Ubuntu
-
Open the Terminal and install git:
sudo apt-get install git -
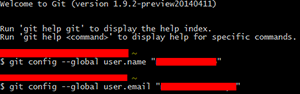
Set up git global config:
git config --global user.name "Your name here"git config --global user.email "Your email here"
- Create a new file (e.g.,
README.txt) and write something in it. - Initialize the repository:
git init - Add the file to the repo:
git add README.txt - Commit the changes:
git commit -m 'Your comment here' -
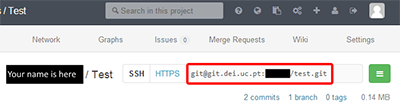
Add remote origin:
git remote add origin git@git.dei.uc.pt:your_username_here/your_project.git
- Push the code:
git push -u origin main
Configuring GIT Client on Windows
- Download and install Git for Windows: http://msysgit.github.io/
-
Open Git Bash and generate an SSH key:
ssh-keygen -t rsa -b 4096
-
Configure git:
git config --global user.name "Your name here"git config --global user.email "Your email here"
-
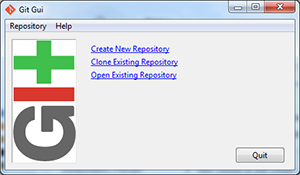
Open Git GUI and select Clone Existing Repository.
Note: It must not be an empty repo. If so, use Create New Repository or follow the Ubuntu guide.
-
Define:
- Source Location: Git project URL (see Ubuntu step 7)
- Target Directory: Local folder for your project
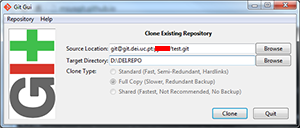
-
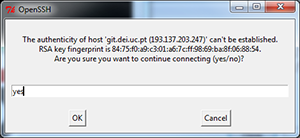
After clicking "Clone", confirm server RSA key.
Typeyesand click OK.
-
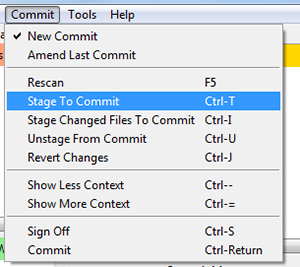
Open Git GUI in the repo folder and go to Commit → Stage to Commit.
-
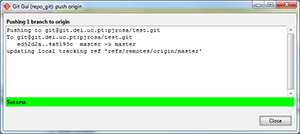
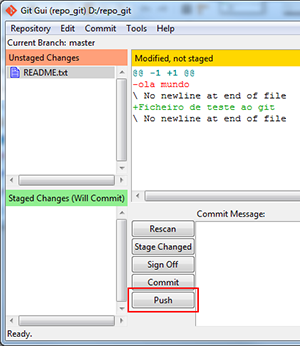
Click Push.
-
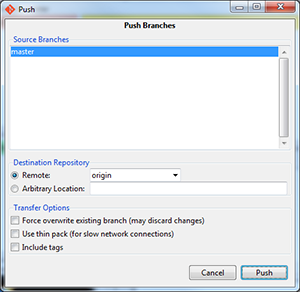
Select the source branch (e.g.,
master) and click Push.
-
The repository was successfully pushed.